← Back to storeMT5 ROBOT · all pairs · v1.0
Breakout retest rejection
Price Action Swing Trading Strategy
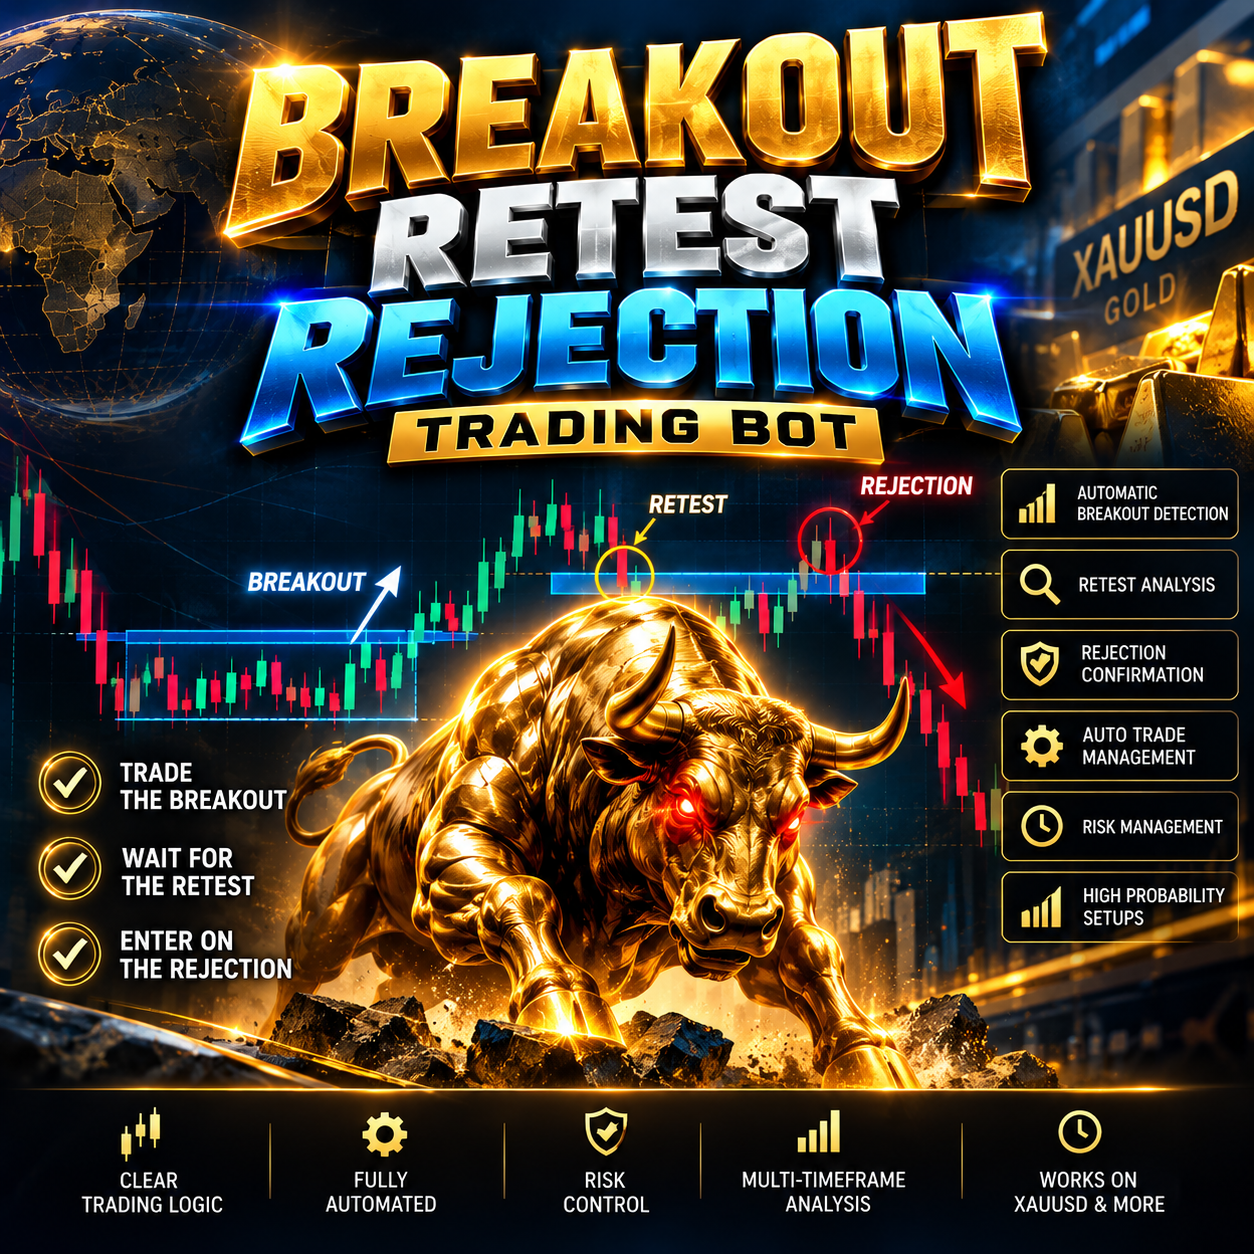
How a robot like this decides
D1 / H4Trend filterTrades only in the direction of the higher-timeframe structure.
H1Zone mappingMarks order blocks and liquidity levels where price may react.
M15Entry triggerWaits for a structure break and confirmation candle inside the zone.
LIVERisk engineFixed % risk per trade, stop-loss always set, daily loss limit.
Full details
Price Action Swing Trading Strategy
Break of Structure (BOS) → Retest → Rejection
1. Strategy Overview
This strategy is designed for XAUUSD (Gold) on the H1 timeframe. It focuses on pure price action and market structure rather than lagging trend indicators. Higher-timeframe Daily/H4 structure provides context, while H1 is used for setup confirmation and entry.
2. Market Structure
Use Daily/H4 to identify major support and resistance and the broader directional context. Use H1 for execution.
• Bullish structure: Higher High (HH) → Higher Low (HL).
• Bearish structure: Lower Low (LL) → Lower High (LH).
• Avoid trading when H1 structure is overlapping or clearly choppy.
3. BUY Conditions
1. Bullish context: H1 shows HH + HL structure; preferably price is near/above an important H4/Daily support zone.
2. Bullish BOS: An H1 candle closes above the most recent significant H1 swing high. A wick-only break is invalid.
3. Pullback / Retest: Price returns to the broken resistance, which becomes potential support.
4. Rejection confirmation: At the retest, an H1 bullish rejection appears: bullish pin bar, bullish engulfing, strong bullish rejection, or bullish Marubozu.
5. Entry: Enter BUY at the open of the next H1 candle after the rejection candle closes.
4. SELL Conditions
6. Bearish context: H1 shows LL + LH structure; preferably price is near/below an important H4/Daily resistance zone.
7. Bearish BOS: An H1 candle closes below the most recent significant H1 swing low. A wick-only break is invalid.
8. Pullback / Retest: Price returns to the broken support, which becomes potential resistance.
9. Rejection confirmation: At the retest, an H1 bearish rejection appears: bearish pin bar, bearish engulfing, strong bearish rejection, or bearish Marubozu.
10. Entry: Enter SELL at the open of the next H1 candle after the rejection candle closes.
5. Stop Loss
Use the rejection candle wick as the structural stop reference.
BUY: SL = Rejection Low − Buffer
SELL: SL = Rejection High + Buffer
Recommended mechanical buffer: ATR(14) × 0.20. ATR is used only for the SL buffer, not for generating the trade signal.
6. Take Profit
Use a fixed 1:2 Risk-to-Reward ratio.
BUY example: Entry 3,400, SL 3,380 → risk = 20 → TP = 3,440.
SELL example: Entry 3,400, SL 3,420 → risk = 20 → TP = 3,360.
Target structure: SL = 1R, TP = 2R.
7. Complete Mechanical Rules
Component BUY SELL
HTF Context Bullish Bearish
H1 Structure HH + HL LL + LH
BOS Close above swing high Close below swing low
Retest Broken resistance → support Broken support → resistance
Confirmation Bullish rejection Bearish rejection
Entry Next H1 candle Next H1 candle
Stop Loss Below rejection wick Above rejection wick
SL Buffer ATR(14) × 0.20 ATR(14) × 0.20
Take Profit 2R 2R
Risk / Trade 0.5–1% 0.5–1%
Signals 1 trade / setup 1 trade / setup
8. No-Trade Conditions
• No clear H1 swing structure.
• BOS is only a wick with no candle close beyond the level.
• Price has not retested the broken level.
• No valid rejection confirmation at the retest.
• Rejection candle is excessively large relative to recent H1 candles.
• Obvious sideways/choppy market conditions.
• Required stop-loss distance is abnormally large.
• A position from the same setup is already open.
9. Strategy Summary
BUY: Bullish structure → H1 BOS above resistance → pullback → bullish rejection → BUY next candle → SL below wick → TP 2R.
SELL: Bearish structure → H1 BOS below support → pullback → bearish rejection → SELL next candle → SL above wick → TP 2R.
10. Important Note
This strategy is a rules-based trading framework, not a guarantee of profit. Before live trading, validate the rules with XAUUSD historical backtesting, forward testing, realistic spread/slippage assumptions, and appropriate risk management.
Backtest report

Backtest results are not a promise of future profit.
Specifications
platformmt5
minimum balance 200$
any time frame